New Roof Inspection Checklist: 15 Things to Check After a Replacement
A new roof inspection checklist helps you confirm a replacement was done right before you make the final payment. Walk the yard, look at every slope with binoculars, check the attic with a flashlight and collect your paperwork. Anything that looks wrong goes on one written list, with dated photos, sent to the roofer.
You don’t need to climb on the roof to do this. A phone camera, binoculars and a flashlight cover almost everything here. Leave the roof surface itself to a pro, especially on steep two-story homes in Crystal Falls, Bryson or Travisso.
This new roof inspection checklist works for any shingle replacement in Leander (ZIP 78641), Cedar Park or Liberty Hill, across Williamson County and Travis County. If your house is a newer build and the roof is original, read our guide to new construction roof problems too.
Why Use a New Roof Inspection Checklist?
A new roof inspection checklist catches problems while the crew is still easy to reach. Many mistakes, like high nails or missing flashing, are hidden under shingles within hours. A written list with photos makes it simple to ask for a fix.
Central Texas is hard on roofs. Leander averages about 93 days a year above 90°F, and hail season runs mainly from March through June. A shortcut that seems minor in October can fail by the next summer.
How to Inspect a New Roof Safely
Here’s how to inspect a new roof without putting yourself at risk:
- Do the yard and ground checks the day the crew finishes, in daylight.
- Use binoculars or your phone’s zoom for every slope, the ridge and the edges.
- Go into the attic with a flashlight, staying on the joists or walk boards.
- Repeat the attic check after the first heavy rain.
- Write down each concern with its location and take a dated photo. Those notes become your new roof inspection checklist record.
Never walk a new roof yourself. Shingles can be slick, and fresh granules roll like ball bearings.
The 15-Item New Roof Inspection Checklist
Use this new roof inspection checklist the day the crew finishes, then again after the first heavy rain. For each item there’s what good looks like and what to ask.
1. The yard is clear of nails
Look in the lawn, flower beds, driveway and street for nails, scraps and wrappers. Nails in a driveway mean flat tires. Ask: “Did you run a magnet sweep over the yard, beds and driveway?”
2. Shingle rows are straight and flat
Rows should run straight and parallel, with no lifted tabs, creases or bulges. Ask: “Are any of these shingles damaged, or just not sealed down yet?” Shingles seal in warm sun, so a few loose tabs right after install can be normal.
3. Color is even on every slope
Look at each slope in good light. Patches that look lighter or darker can mean mixed production lots. Ask: “Were all the bundles from the same product line and color?”
4. Drip edge is on the eaves and rakes
You should see a metal edge along the bottom edges and the sloped sides of the roof, with shingles overhanging it. Ask: “Was new drip edge installed, or was old metal reused?”
5. The starter course is in place
The first row at the eaves should overhang evenly, with no gaps between tabs at the edge. Ask: “What starter product did you use on the eaves and rakes?”
6. Nails were driven in the nailing zone
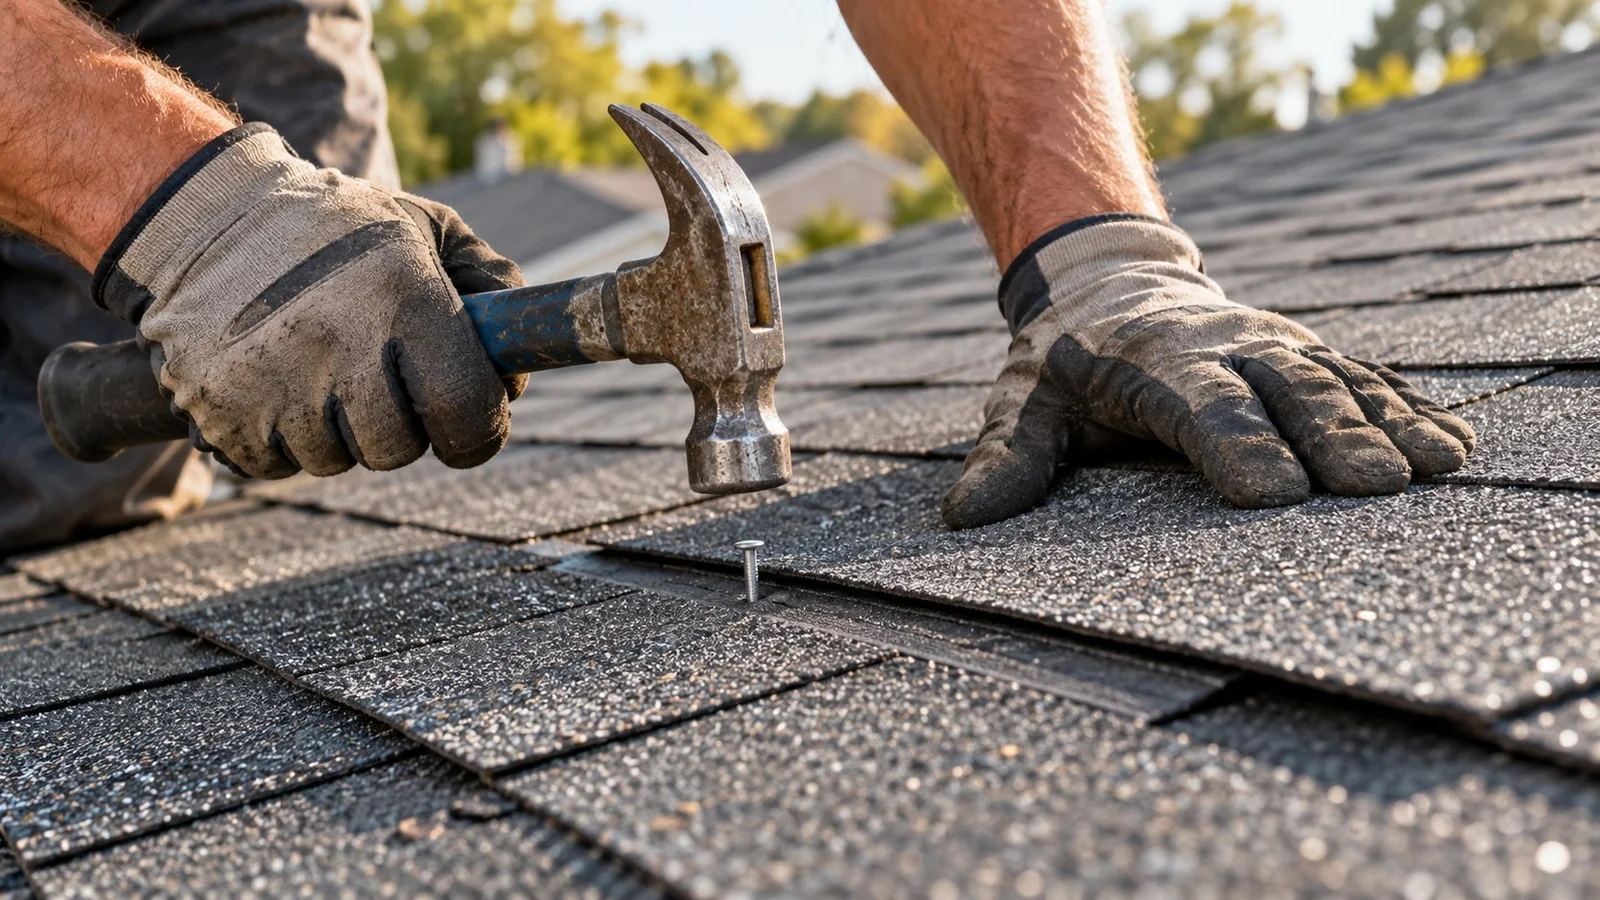
You can’t see this after the job, so ask for in-progress photos. GAF’s installer guidance warns crews about “underdriven, overdriven, or angled nails” and calls four nails per shingle the widely accepted industry standard. Ask: “How many nails per shingle did you use?”
7. Valleys are clean and straight
Valley lines should run straight, with no exposed nail heads and no debris left in them. Valleys carry the most water on the roof. Ask: “What valley method did you use, and why?”
8. Walls have metal step flashing, not caulk
Where the roof meets a wall, you should see metal flashing. A bead of caulk alone is a shortcut that cracks in Texas heat. Ask: “Was new step flashing installed at every wall?” Our roof flashing repair page shows what it should look like.
9. There’s a kick-out at the bottom of each wall
Where a roof edge ends against a wall, a small bent kick-out should throw water into the gutter. Without it, water runs behind stone or siding. Ask: “Is there a kick-out at each roof-to-wall joint?”
10. Pipe boots are new
Every plumbing vent should have a new boot with no cracked rubber. Pipe boots are a frequent leak source on older roofs, so reusing them is a false economy. Ask: “Were all the pipe boots replaced?”
11. The ridge vent is centered and open
The ridge vent should run straight and centered on the peak. Ask: “How wide is the ridge slot, and does it run the full length under the vent?”
A ridge vent installed wrong is one of the most common new roof problems. If the slot is narrow, off-center or never cut, the vent looks right but doesn’t move air.
12. Ridge and hip caps are tight
Cap shingles should run in a straight line with even spacing and no lifted edges. Ask: “Did you use the manufacturer’s matching cap shingles?”
13. The attic is dry, with daylight at the ridge
In the attic, look for wet spots or stains on the decking, especially after rain. You should see a line of daylight through the ridge slot. Ask: “Did you replace any decking, and where?”
14. Soffit vents are open
Intake vents at the eaves should be clear, not blocked by insulation or paint. Intake and exhaust need to be in balance for the roof to breathe. Ask: “Does the intake at the soffits match the exhaust at the ridge?”
15. Gutters are clean and undamaged
Gutters should be clear of granules and debris, with no dents from ladders and no loose hangers. Under the mature live oaks in Crystal Falls, check for leaves and shingle scraps packed together. Ask: “Were the gutters cleaned out after tear-off?”
Paperwork for Your New Roof Inspection Checklist
The last part of any new roof inspection checklist is paper. Before the crew is gone for good, make sure you have:
| Document | Why you want it |
|---|---|
| Signed contract and final invoice | Shows the agreed scope |
| Written workmanship warranty | What the roofer covers, for how long, and how to ask |
| Manufacturer warranty details | Shingle warranty terms and who registers it |
| Shingle brand, line and color | Needed for future repairs and HOA records |
| Dated before-and-after photos | Proof of condition for insurance and resale |
| Impact-rating form, if Class 4 | Needed for insurance discount paperwork |
| Permit record, if one was required | Shows the job passed final inspection |
Ask who registers the manufacturer warranty. Some warranties must be registered within a set time, so confirm it’s done and get the confirmation.
If you installed impact-rated shingles, the Texas Department of Insurance says the contractor must complete TDI form PC068 after installation for TWIA credits, and other insurers may require their own form. Our Class 4 shingles guide explains the details.
What About a Permit Final Inspection?
Permit rules depend on the city. The City of Leander’s Permits & Building Inspection page lists re-roofing among exterior work that does not require a permit, and it asks owners to confirm with the department before work starts. Cedar Park, Liberty Hill and other cities set their own rules.
If your job did need a permit, the city inspector checks the work at final inspection. Ask your roofer for the permit number and the final inspection result, and add them to your new roof inspection checklist file. A city inspection is a code check, not a replacement for your own new roof inspection checklist.
How to Make a Roofer Fix His Work
Put it in writing. Go through this new roof inspection checklist, number each problem that failed, match it to a photo and send one email or letter. Ask for a written reply and a repair date.
Most good roofers fix workmanship issues quickly when the request is clear. If yours doesn’t respond, Texas Property Code Chapter 27 covers contractors who repair or alter existing homes, not just builders. Under Section 27.004, written notice by certified mail must go out at least 60 days before a lawsuit.
This is general information, not legal advice. Talk to a Texas attorney before sending a formal notice. Before your next project, our guide on how to choose a roofer can help you avoid the problem.
Want a Second Set of Eyes?
If something on your new roof inspection checklist doesn’t look right, an independent roofer can confirm it. We document problems with dated photos and a written list you can send to the original installer. See our roof inspection in Leander page for what we check.
New Roof Inspection Checklist Questions
When should I use a new roof inspection checklist?
Use it the day the crew finishes, before final payment if your contract allows. Then check the attic again after the first heavy rain. Some new roof problems only show up once water hits the roof.
How do I know if my ridge vent was installed wrong?
From the yard, look for a vent that’s off-center or wavy. In the attic, you should see daylight through the slot under the vent. Solid decking there may mean the slot was never cut.
Should I pay the roofer before checking the roof?
It’s best to run through your new roof inspection checklist first. If your contract requires payment on completion, do the check that day and send any concerns in writing right away.
What are the most common new roof problems?
Nails placed outside the nailing zone, ridge vents cut wrong, missing kick-out flashing, caulked joints and blocked soffit vents top the list. Each can work for a while and then fail in heat, wind or heavy rain.
Does Leander require a permit to replace a roof?
The City of Leander’s permit page lists re-roofing as exterior work that does not require a permit inside city limits. The City says its list isn’t complete, so confirm with Permits & Building Inspection before work starts.
Talk to a Leander Roofer
Not sure your new roof passes? Call Leander Roof Repair at (512) 254-8474 and we’ll tell you what we see and whether an inspection makes sense. If you need a full roof replacement, we’ll give you a written estimate before any work starts.